
Strippy Improv Halloween QAL - Week 4
It’s the last week of the Quilt Along - time to assemble your wall hanging or table runner!
With only four blocks, finishing the quilt goes quickly, and it’s so satisfying to have a Halloween quilt completed and ready to decorate with before the holiday!
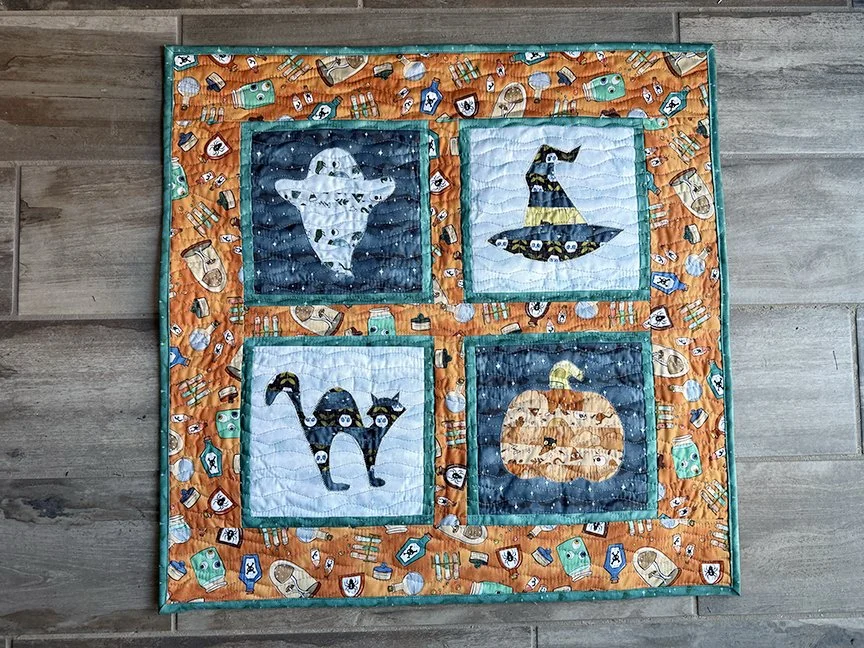
Here’s a look at my finish, using the Spellbound collection by Marin Sutton for Benartex. I love these prints - not your typical Halloween colors or designs, but so fun!
Let’s talk assembly tips.
Tip 1: Matching seams as you assemble the quilt top. Make sure to line up the block frames and vertical sashing seams as you sew the two block rows together with the horizontal sashing strip.

Tip 2: Thread color. Choose a neutral thread color for machine quilting. This can seem hard to choose if, like in my quilt, you have a lighter gray block background and then a black border background. But if you choose a simple quilting design like straight lines (my go-to!), the quilting primarily provides texture and the thread color doesn't stand out. I auditioned a couple fun variegated threads but ultimately chose a medium gray.

Tip 3: Machine quilting. I prefer to machine quilt strippy improv projects using either straight line walking foot machine quilting or free motion wavy lines. For this version, I opted for wavy lines because it echoed the background fabric. This is such a quick and easy machine quilting motif!
When I do straight horizontal lines, I freehand the lines, starting along one of the block frames, and then moved over the width of my walking foot for each line. Quick, easy and effective!
Either horizontal stitching method creates texture without distracting from the design.
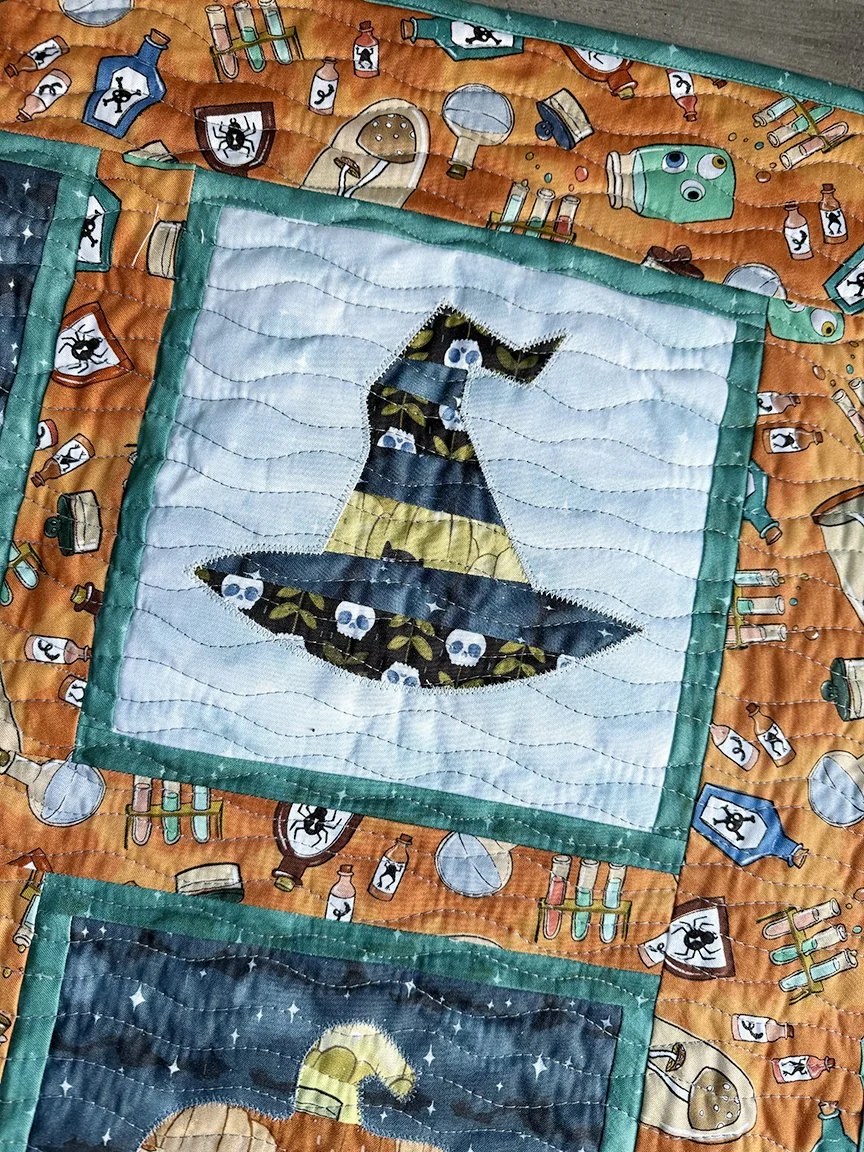
Tip 4: Showcase that focal print! If you have a really fun border print, consider increasing the width of the border (and sashing strips by 1” to let that fabric shine! The finished quilt size will be relatively similar, and you can enjoy those cute test tubes, poison bottles, and floating eyeballs. : )

Shortcut Options!
If you're a little behind on block making or just want a different type of project, below are instructions for two alternate finishes, each using one block. Enjoy! And don’t forget to download the jack o’lantern face templates here!
Pillow Finish
After I made the jack o'lantern block, I decided it would be a great pillow. I created the same 1"-wide frames around the block, and then cut 4"-wide strips for the border fabric, creating a 16-1/2" square pillow top. I added a 16-1/2" square fusible fleece square to the back side and machine quilted it. I made a same size backing square (with fusible fleece and quilting too), and then added a zipper and finished up the pillow. The pillow assembly took less than an hour.

Trick or Treat Bag Finish

You'll Need:
1 8-1/2" square strippy improv block
Orange tonal:
(2) 1-1/2" x 8-1/2" strips
(2) 1-1/2" x 9-1/2" strips
White spiderweb:
(1) 13-1/2" x 15-1/2" piece for bag back
(2) 3" x 18" strips for handles
(2) 2-1/2" x 9-1/2" strips for bag front
(1) 2-1/2" x 13-1/2" strip for bag front
(1) 5" x 13-1/2" strips for bag front
Black print:
(2) 13-1/2" x 15-1/2" piece for bag lining
(2) 3" x 18" strips for handles
Assemble the Bag:
1. Sew orange tonal strips to sides and then top/bottom of 8-1/2" square strippy improv block.
2. Sew 2-1/2" x 9-1/2" white spiderweb strips to opposite sides of block. Sew 2-1/2" x 13-1/2" white spiderweb strip to top and 5" x 13-1/2" white spiderweb strip to bottom to complete bag front, measure 13-1/2" x 15-1/2".
3. Layer bag front and bag back right sides together and stitch around sides and bottom. Layer (2) black print bag lining pieces right sides together and stitch around sides and bottom, leaving a 6" opening along bottom for turning.
4. Cut out 2" squares from bottom corners of both outer bag and lining. Box corners. Turn outer bag right side out.
5. To make handles, lay (1) each 3" x 18" white spiderweb and black print strip right sides together. Stitch along both long edges. Turn right side out, press, and topstitch along both long edges. Make (2) handles.
6. Measure in 2-1/2" from outer bag edges and pin handle in place, matching raw edges. Repeat on bag back. Baste handles in place.
7. Slide outer bag inside lining, making sure handles are tucked in. Match side seams and pin top raw edges together. Sew along the top outer edge.
8. Turn bag right side out through opening in the lining. Stitch the opening closed. Topstitch along the top edge of the bag to finish. Happy trick or treating!
And that's it! I hope you enjoyed being part of the QAL! I hope you'll share photos of your project! And come back mid-November when we start the Strippy Improv Holiday QAL!
**************************************************************************
If you're new here, welcome! I hope you'll stay and look around a bit.
If you like what you've seen here, you can also find me:
To find all of my quilt patterns, visit my shop.
Find me on IG here.
Need the full Strippy Improv Halloween Pattern? Purchase the digital pattern here.
And mark your calendars for the Strippy Improv Holiday QAL, starting mid November!