
Strippy Improv Halloween One -Block Hacks
It’s Strippy Improv Halloween season! And it’s also “make the Halloween costume” season, and “decorate for Halloween” season, and “get the candy” season.
So if you want to play with Strippy Improv blocks but don’t feel like you have the time to finish a wall quilt, here are two alternate finishes using just one block each!
(Psst…scroll down for the link to the jack o’lantern faces templates!)
One-Block Pillow Finish
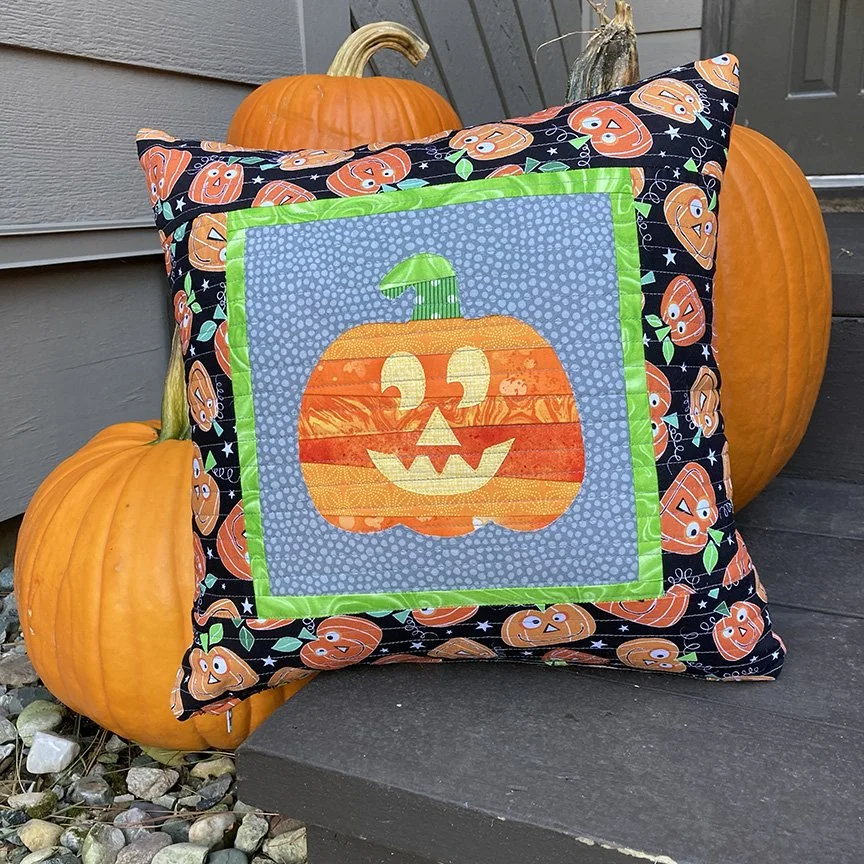
After I made the jack o'lantern block, I decided it would be a great pillow.
I created the same 1"-wide frames around the block from the pattern, and then I cut 4"-wide strips for the border fabric, creating a 16-1/2" square pillow top.
I added a 16-1/2" square fusible fleece square to the back side and machine quilted it.
I made a same size backing square (with fusible fleece and quilting too), and then added a zipper and finished up the pillow. The pillow assembly took less than an hour.
One-Block Trick or Treat Tote Finish
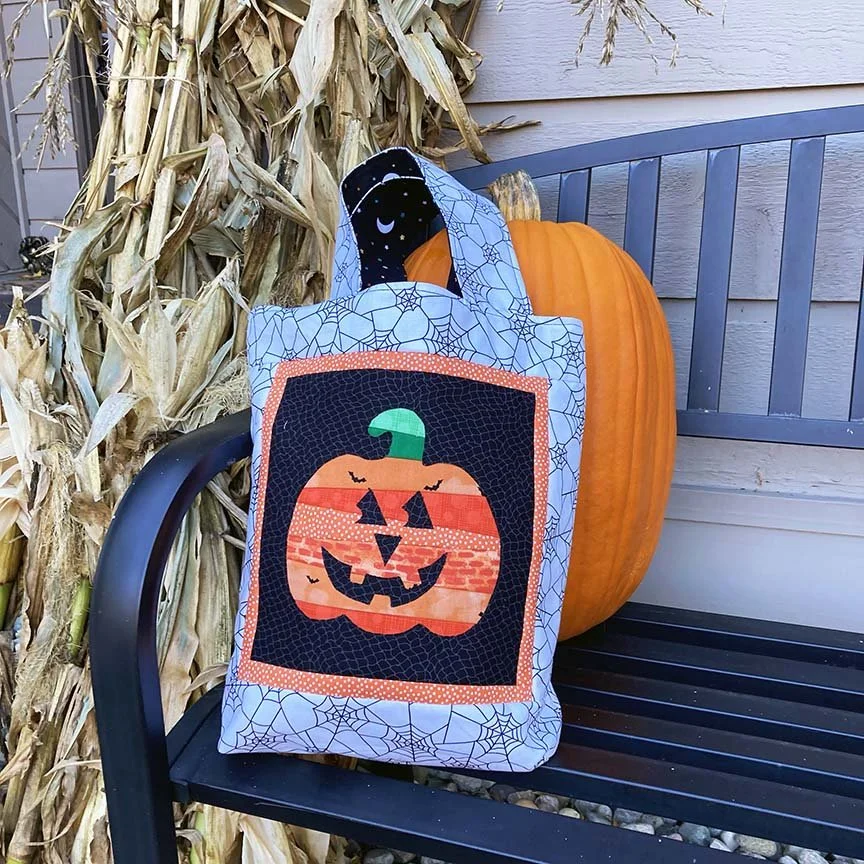
You'll Need:
1 8-1/2" square strippy improv block
Orange tonal:
(2) 1-1/2" x 8-1/2" strips
(2) 1-1/2" x 9-1/2" strips
White spiderweb:
(1) 13-1/2" x 15-1/2" piece for bag back
(2) 3" x 18" strips for handles
(2) 2-1/2" x 9-1/2" strips for bag front
(1) 2-1/2" x 13-1/2" strip for bag front
(1) 5" x 13-1/2" strips for bag front
Black print:
(2) 13-1/2" x 15-1/2" piece for bag lining
(2) 3" x 18" strips for handles
Assemble the Bag:
1. Sew orange tonal strips to sides and then top/bottom of 8-1/2" square strippy improv block.
2. Sew 2-1/2" x 9-1/2" white spiderweb strips to opposite sides of block. Sew 2-1/2" x 13-1/2" white spiderweb strip to top and 5" x 13-1/2" white spiderweb strip to bottom to complete bag front, measures 13-1/2" x 15-1/2".
3. Layer bag front and bag back right sides together and stitch around sides and bottom. Layer (2) black print bag lining pieces right sides together and stitch around sides and bottom, leaving a 6" opening along bottom for turning.
4. Cut out 2" squares from bottom corners of both outer bag and lining. Box corners. Turn outer bag right side out.
5. To make handles, lay (1) each 3" x 18" white spiderweb and black print strip right sides together. Stitch along both long edges. Turn right side out, press, and topstitch along both long edges. Make (2) handles.
6. Measure in 2-1/2" from outer bag edges and pin handle in place, matching raw edges. Repeat on bag back. Baste handles in place.
7. Slide outer bag inside lining, making sure handles are tucked in. Match side seams and pin top raw edges together. Sew along the top outer edge.
8. Turn bag right side out through opening in the lining. Stitch the opening closed. Topstitch along the top edge of the bag to finish. Happy trick or treating!
Need the Strippy Improv Halloween pattern? Find it here.
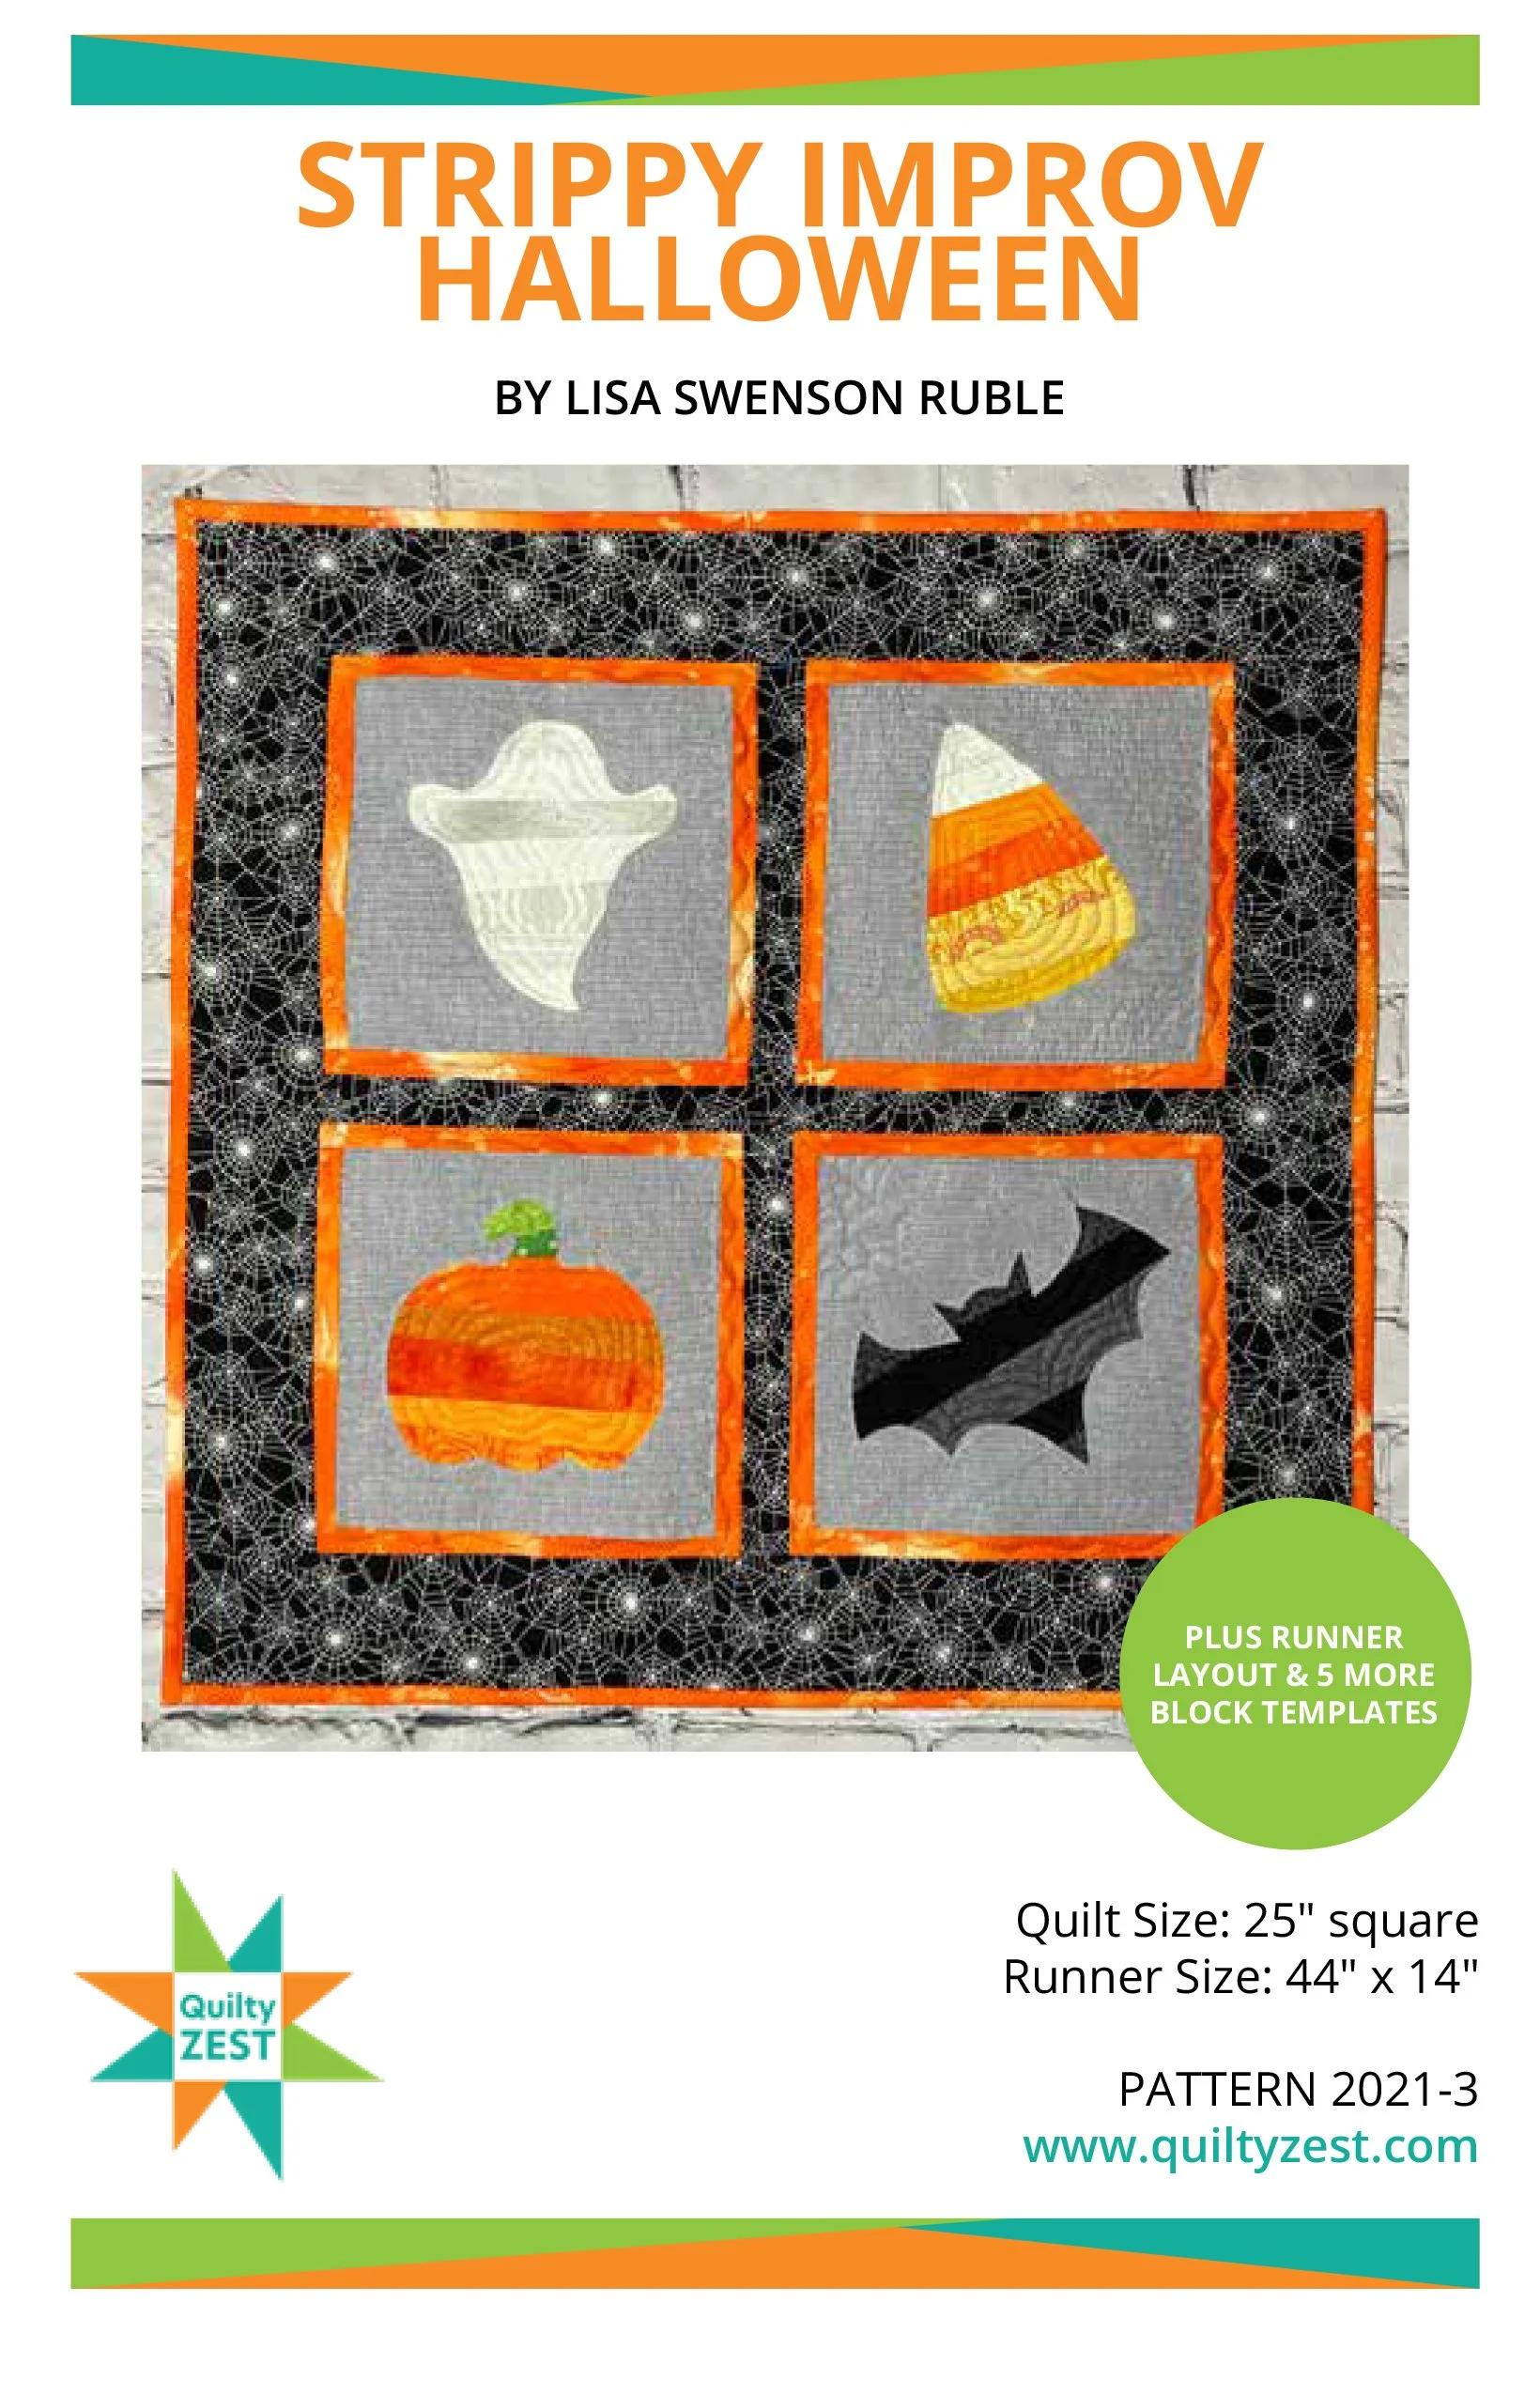
Strippy Improv Pumpkin Jack o’lantern Faces
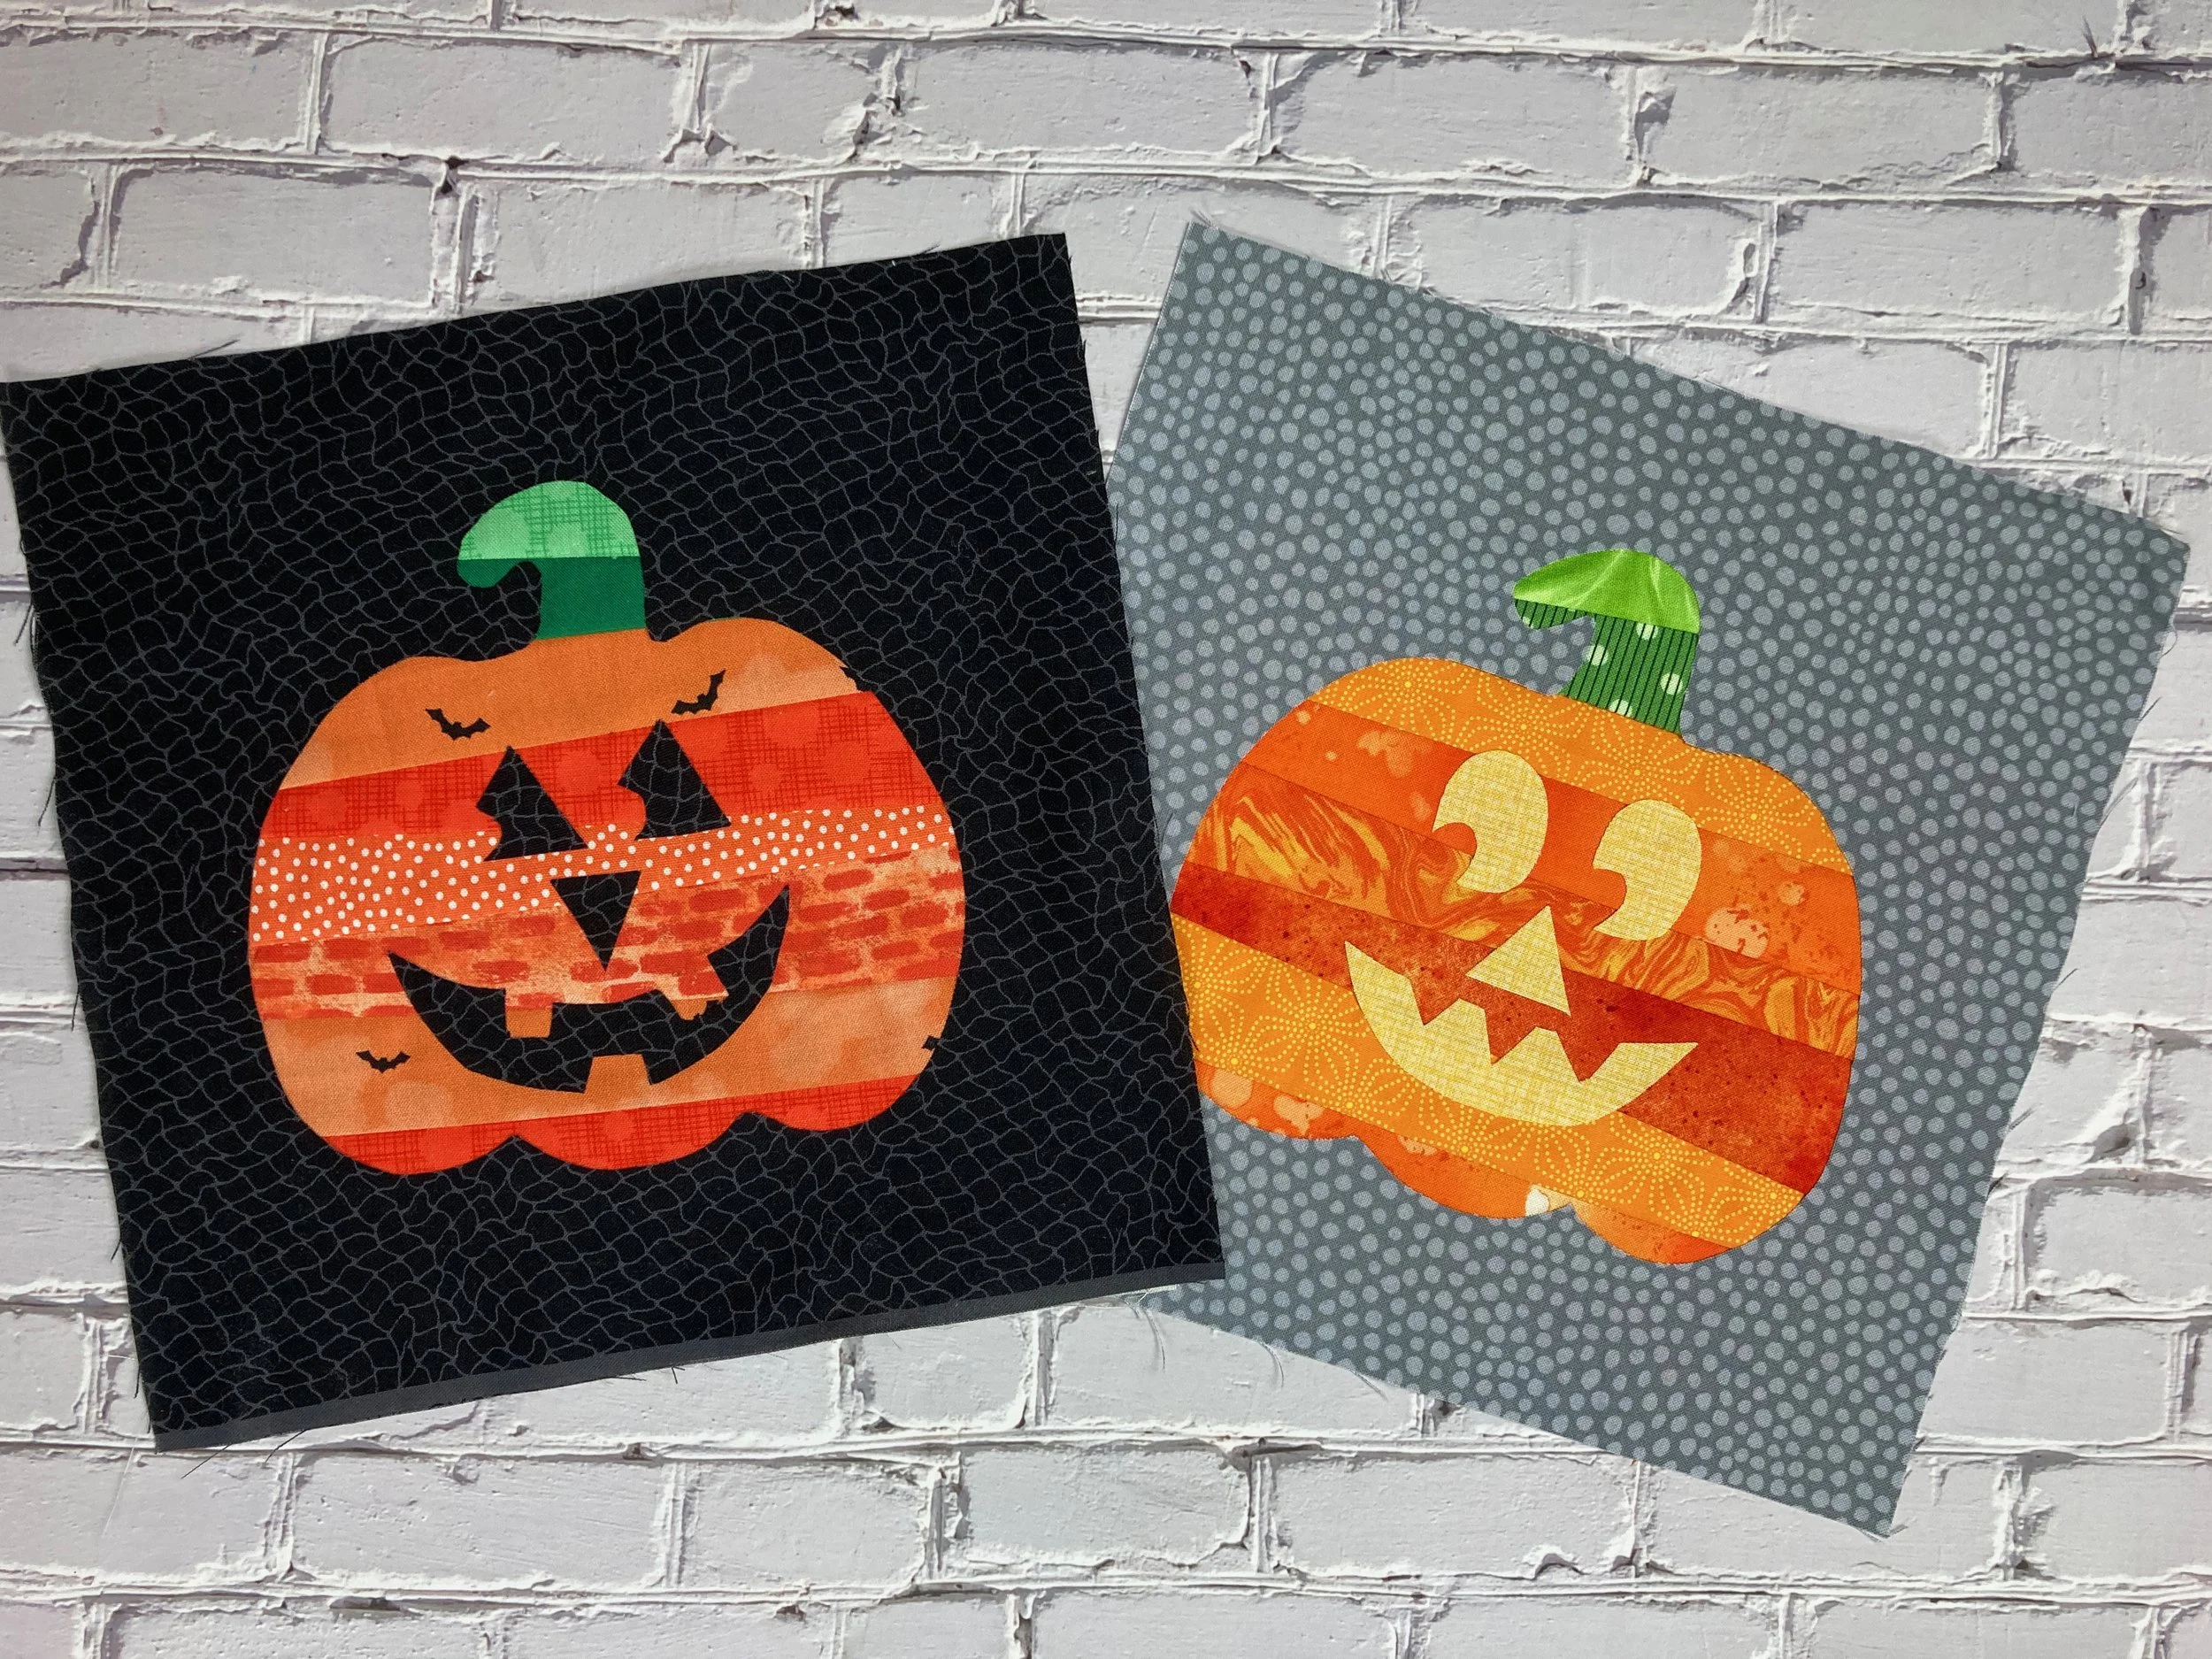
It’s fun to turn Strippy Improv pumpkin blocks into jack o’lanterns! Click here to download templates for two different face designs. Trace the designs onto the paper side of fusible web, fuse to your desired fabric, cut out on the lines, and then fuse the eyes/nose/mouth combo to your pumpkin! Secure with decorative or straight stitches.