5 Panel Cutting Tips + Star Stacks My Hero quilt reveal!
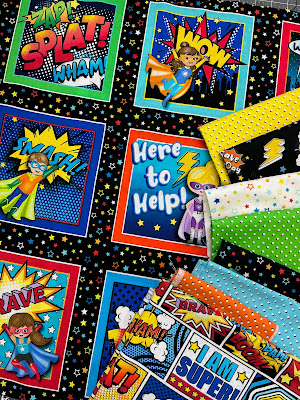
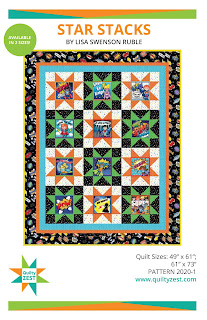
Sometimes when you see a fabric, you know exactly what to do with it! That's how I felt when I saw the My Hero panel from Benartex - these fun comic strip-style blocks would be perfect centers for the star blocks in my Star Stacks pattern! (psst...the pattern is on sale through September 4th...use this link!)
Today I'm going to share my Star Stacks My Hero quilt and share my 5 tips to make fussy cutting blocks from a panel easier.
Here's the quilt - don't you love those bright colors? I love the positive messages of these prints - they make such a fabulous kids quilt!
A big thanks to my mom, who pieced this quilt for me. Next up? Quilting it!
So let's talk fussy cutting panels. If you've worked with panels before, you may have noticed that they're not always perfectly straight. This is nothing against the fabric company - it just happens when you're printing on something slightly stretchy and movable like cotton. Let's look at how to combat that as you cut.
Tip 1: Examine the panel before cutting. Decide where you'll cut - look at the lines in the blocks. In this case, I'm cutting 6-1/2" squares, and that measurement falls within the outer white line, so that makes things easier.

Tip 4: Align the ruler and find your "best" lines. Note that your best lines aren't always perfect, nor necessarily lined up with other printed lines. In the example below, I'm cutting off the outer white line, so I'm more concerned with how straight the blue border looks under my ruler than where the white line is. I want roughly the same amount of blue border to show on all sides of my block, so that's my focus as I position the ruler.
Grab the pattern (20% off through September 4th!) here in my Etsy shop.


